How to Plant Plumeria Seeds? Step-by-Step Instructions
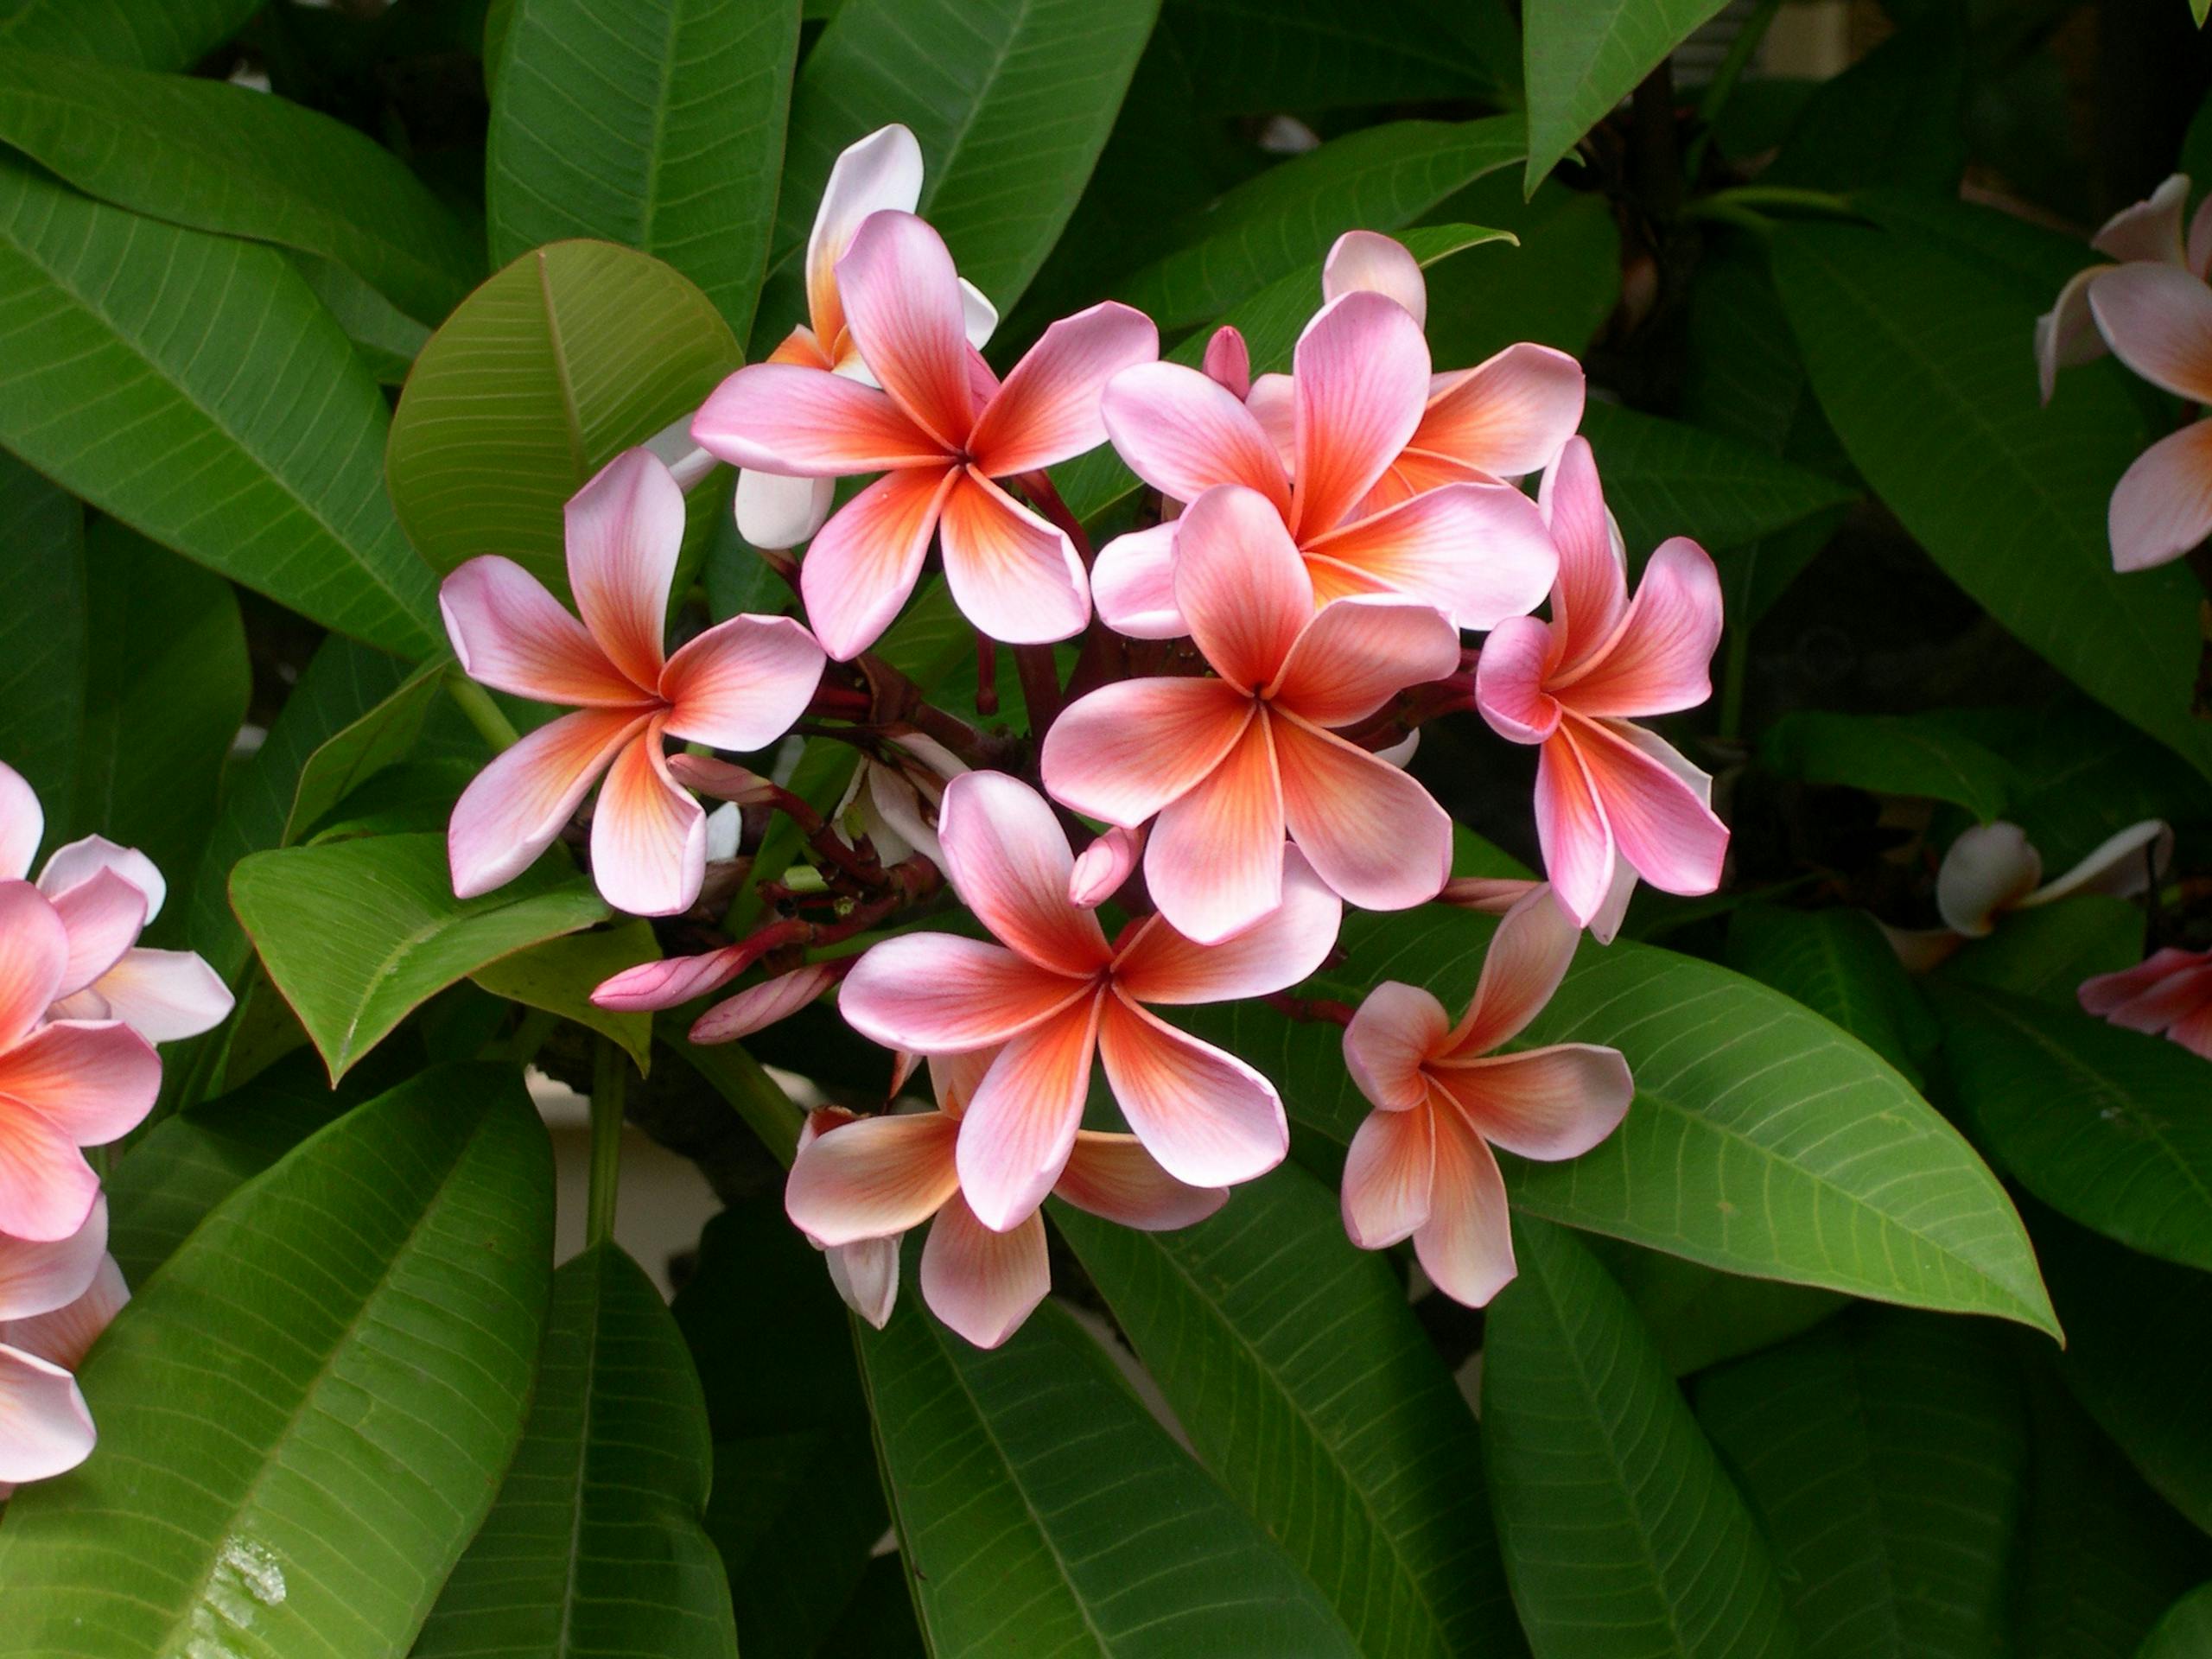
If you are looking for an easy and affordable way to add some color to your garden, consider planting plumeria seeds. Plumeria plants are known for their beautiful flowers, which come in a variety of colors. In this blog post, we will provide step-by-step instructions on how to plant plumeria seeds.
1. What kind of soil to use for planting Plumeria seeds
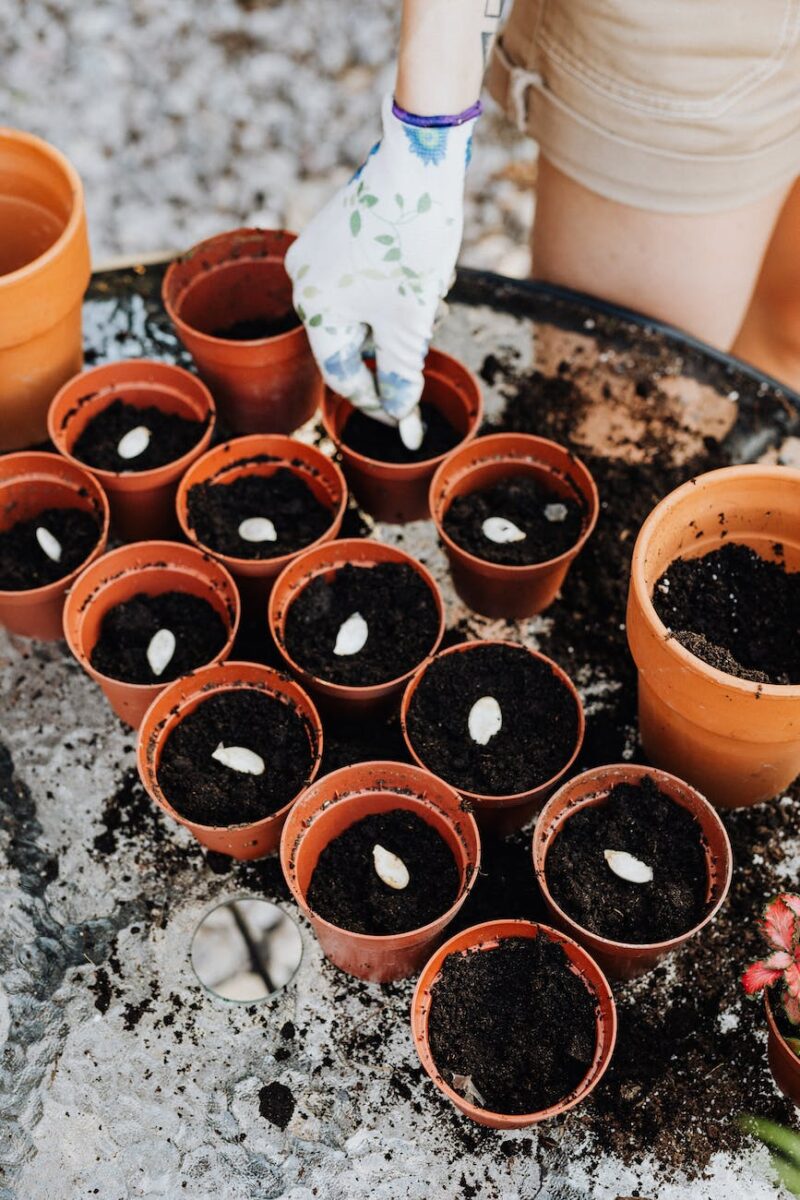
Plumerias are lovely flowers that grow in a variety of colors, shapes, and sizes. They can be found in many tropical climates and are a popular choice for gardens and landscaping. If you’re thinking of planting plumeria seeds, it’s important to choose the right type of soil.
The best soil for plumeria seeds is a well-draining mix that contains peat moss, perlite, or vermiculite. This type of soil will hold moisture without becoming waterlogged, and it will also help to aerate the roots. Once you’ve selected the right soil, you’ll need to sow the seeds on the surface and then water them gently.
Plumeria seeds usually take around two weeks to germinate, so be patient and don’t forget to keep the soil moist during this time. With a little care and attention, your plumeria seeds will soon sprout and begin to grow!
2. How deep to plant the Plumeria seeds
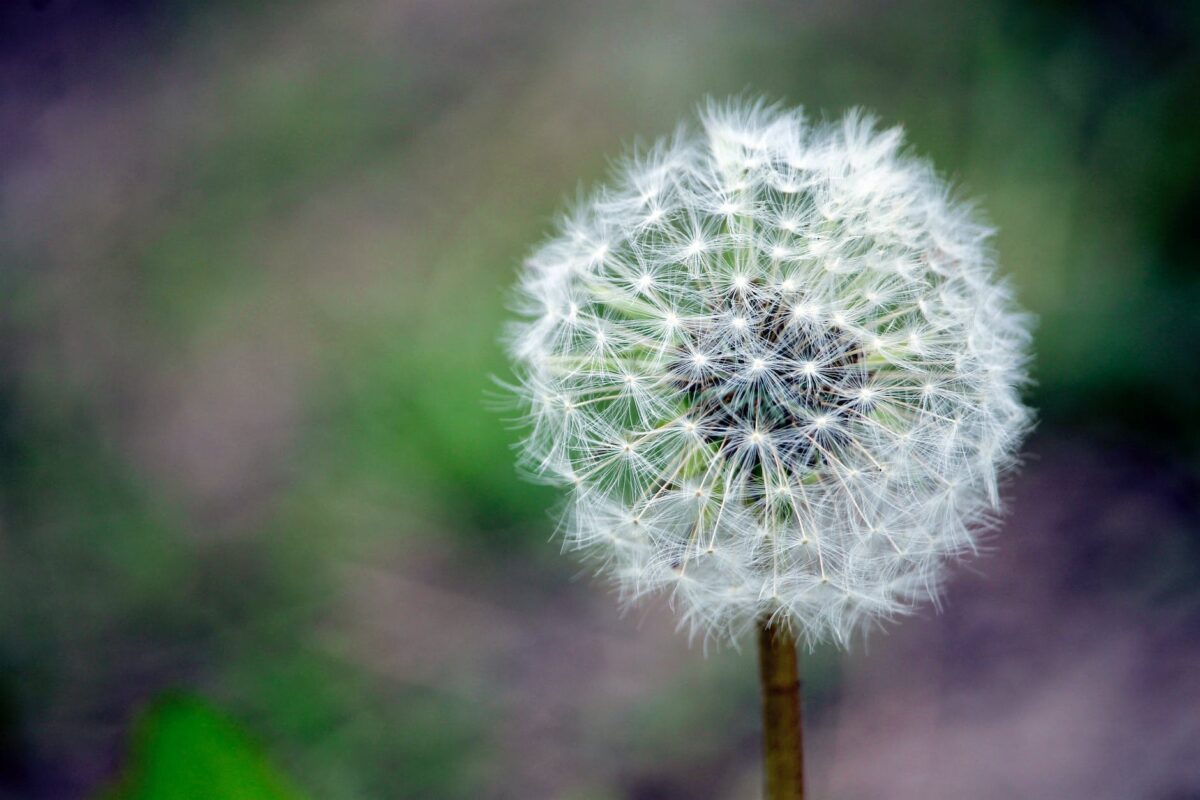
If you’re interested in growing plumeria from seed, the first step is to figure out how deep to plant the seeds. Most plumeria seeds need to be planted about 1/2 inch deep in order to germinate properly. You can plant the seeds in individual pots or in a seed tray filled with potting mix.
Once the seeds are planted, water them well and place them in a warm, sunny location. Keep the soil moist but not soggy, and within a few weeks, you should see the seeds sprout. With patience and care, you can successfully grow plumeria from seed.
3. When to water and fertilize for planting Plumeria seeds
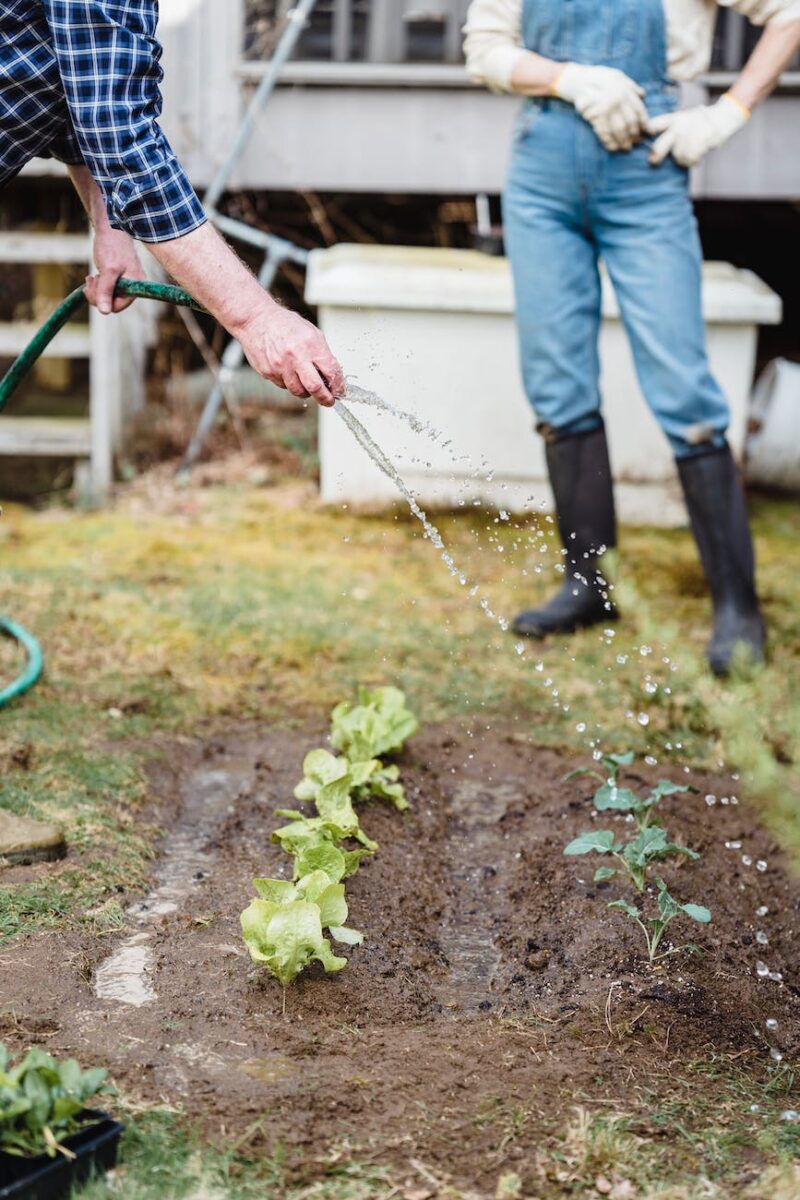
Plumeria seeds need to be kept moist in order to germinate, so it’s important to water them regularly. Once the seeds have sprouted, you can fertilize them with a dilute solution of liquid fertilizer.
When the seedlings are big enough to handle, they can be transplanted into individual pots. Plumeria plants need full sun and well-drained soil, so make sure to choose a spot in your garden that meets these requirements. With a little care, your plumeria seeds will soon grow into healthy plants that will bloom for many years to come.
4. Which direction to face the pot after planting Plumeria seeds
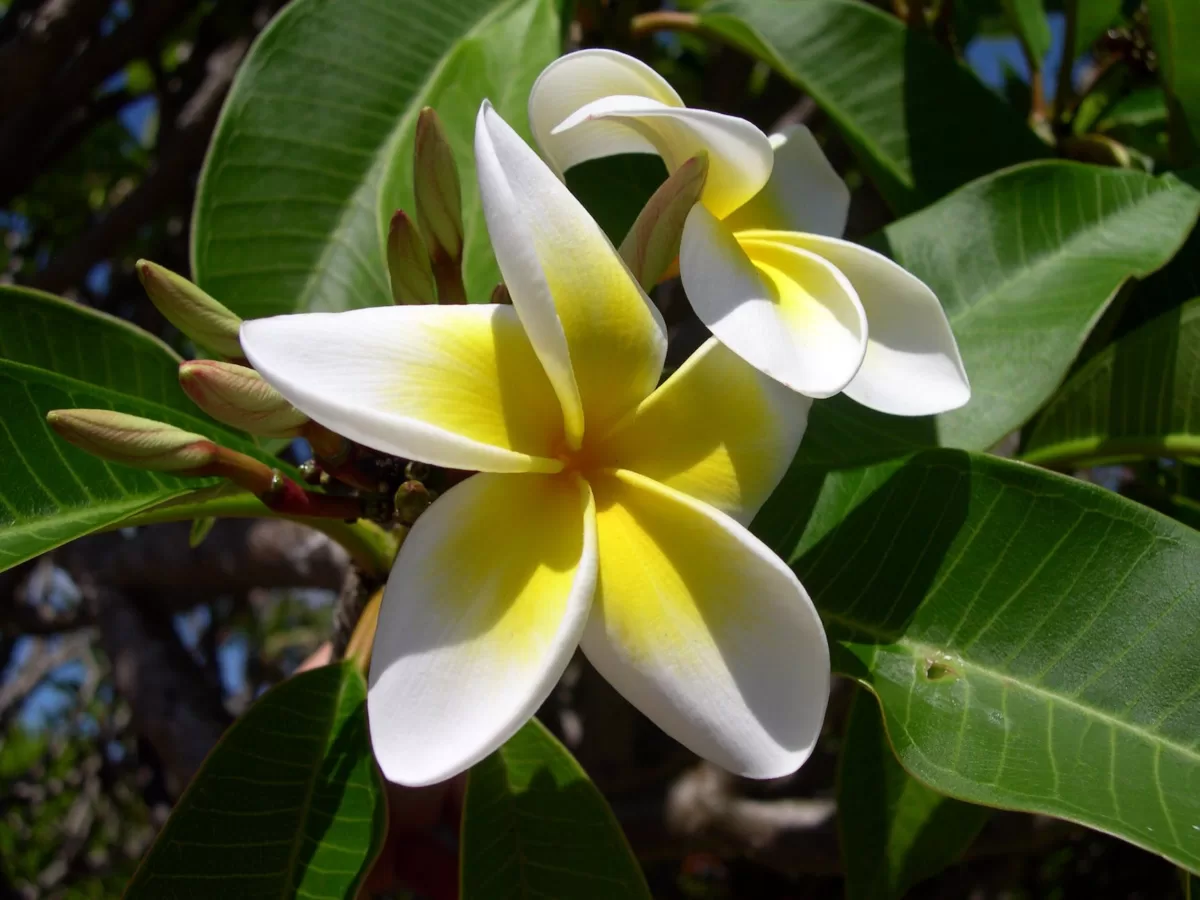
Plumeria seeds need special care when planting. They should be soaked in water for 24 hours before planting and then placed in a pot with well-drained soil. The pot should be shallow since plumeria roots are not very deep. The pot should be placed in an area with full sun and the temperature should be warm, around 70 degrees Fahrenheit.
When watering the plumeria seedlings, be sure to use room-temperature water. Water the seedlings regularly, making sure the soil stays moist but not soggy. After about six weeks, the plumeria seedlings should have developed strong roots and can be transplanted into larger pots or into the ground.
When transplanting, be sure to face the pot in the same direction that it was facing before, as plumeria plants are very sensitive to changes in light exposure. With proper care, your plumeria seedlings will thrive and produce beautiful flowers.
5. How much sun the pot needs each day
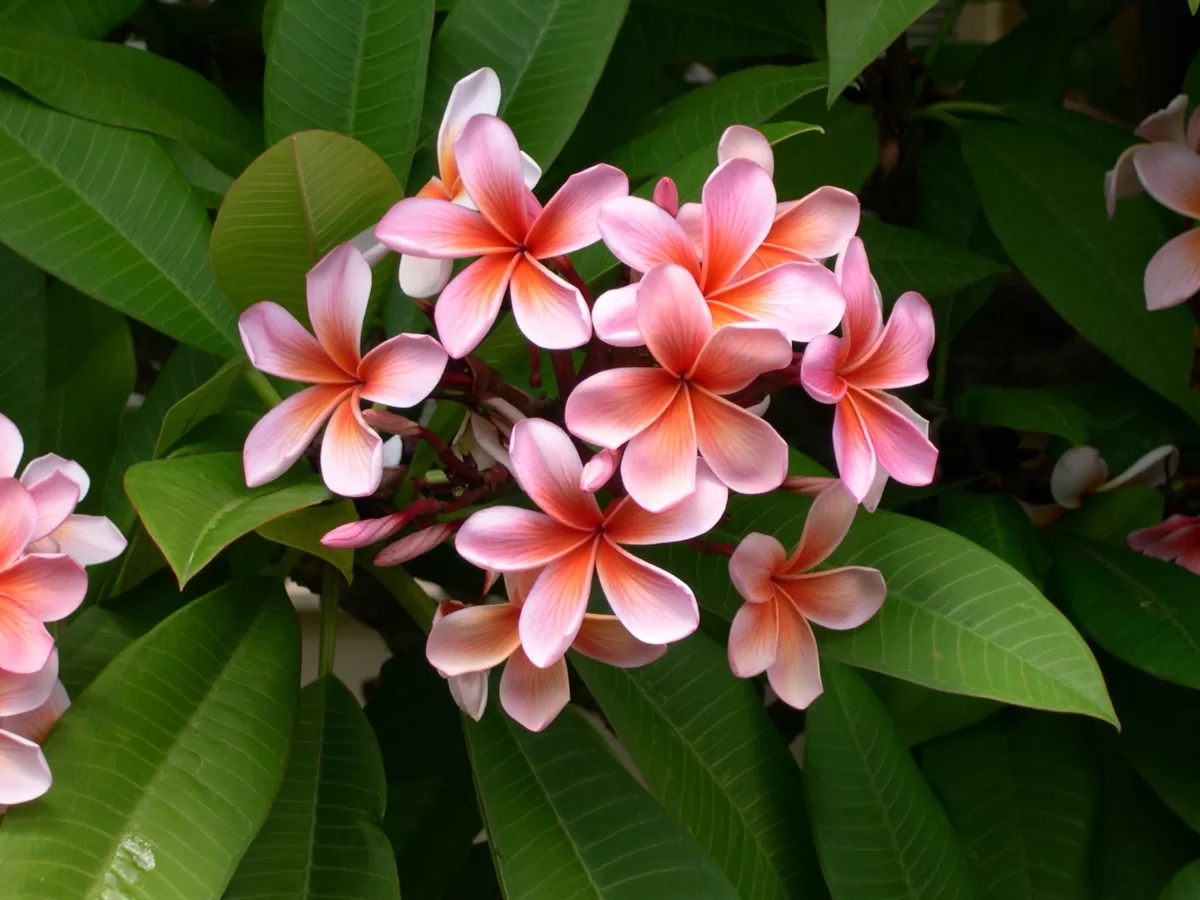
How much sun the pot needs each day is determined by how hot it gets where you live. If you live in a hot climate, the pot will need full sun. This means it should be in a spot where it will get at least six hours of direct sunlight each day. If you live in a temperate climate, the pot can be in a spot that gets partial sun. This means it should be in a spot where it will get at least four hours of direct sunlight each day.
If you live in a cool climate, the pot can be in a spot that gets full shade. This means it should be in a spot where it will only get indirect sunlight or no sunlight at all. The amount of sun the pot needs each day also depends on how big the pot is. The bigger the pot, the more sun it will need. So, if you have a small pot, you can put it in a spot that gets less sun than if you have a big pot.
6. Protecting your plumeria from pests and diseases
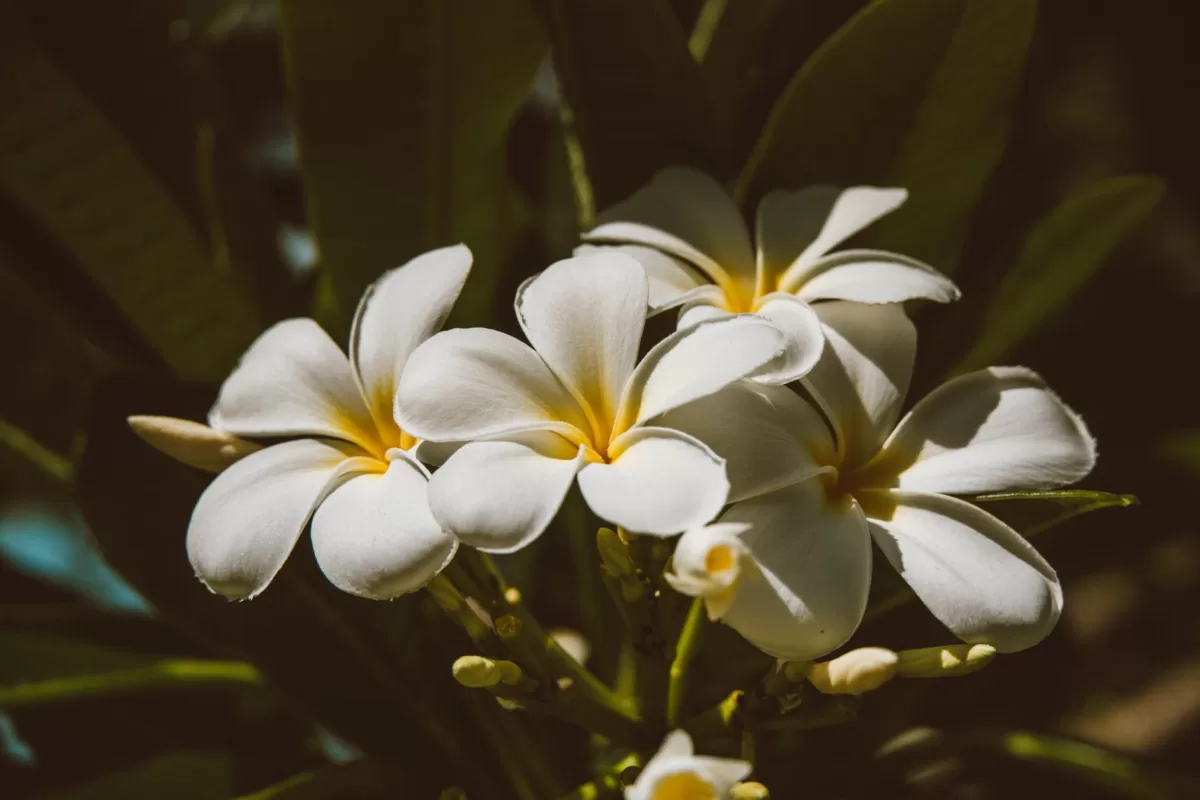
Plumeria are beautiful, fragrant flowers that are often used in leis or other tropical decorations. Though they are generally easy to care for, plumeria can be susceptible to pests and diseases. With a little preventive care, however, you can keep your plumeria healthy and looking its best.
When planting plumeria seeds, be sure to disinfect the pots and tools that you will be using. This will help to prevent the spread of any diseases that may be present. Once the seeds have been planted, water them well and keep them in a warm, sunny location. germination can take several weeks, so be patient.
Once your plumeria seedlings have sprouted, it is important to monitor them for signs of pests or disease. Look for yellowing or browning leaves, which may indicate a nutrient deficiency. Check for small holes in the leaves, which could be caused by caterpillars or other insects. If you see any evidence of pests or disease, take action immediately to treat the problem. With proper care, your plumeria will thrive and provide you with many years of enjoyment.
Conclusion
Now that you know how to plant your plumeria seeds, it’s time to get started. Be sure to follow the instructions closely so your plants have the best chance of growing into healthy trees. Once your plumeria are established, enjoy watching them blossom and fill your yard with their sweet fragrance. Have you ever grown a plumeria before? What advice would you give other gardeners starting out with this beautiful tree?
Enjoy This Article? You May Also Like:


